Canva makes it easy to design stunning visuals, but collaborating with others can quickly become chaotic without the right setup. Whether you’re working with a marketing team, a group of freelancers, or a class project, learning how to create and manage a team in Canva keeps everyone organized, on-brand, and productive.
In this complete guide, you’ll learn step-by-step how to set up a Canva team, invite members, assign roles, and manage shared folders and brand assets. From permissions to collaboration tips, everything you need to streamline your workflow is covered below.
Introduction
Canva has grown far beyond being a solo design tool. For many freelancers, small businesses, nonprofits, and marketing departments, it has become the shared workspace where brand assets live, campaigns get designed, and multiple people collaborate on everything from social posts to pitch decks. Knowing how to create and manage a team in Canva is the difference between chaotic file sharing and a smooth, organized creative workflow.
This article explores How to Create and Manage a Team in Canva: Complete Guide with clear, practical guidance. Whether you are bringing on your first contractor or rolling out Canva to a department of twenty, the same core principles apply: set up the team correctly, structure folders and permissions thoughtfully, and build habits that keep everyone aligned. Understanding the fundamentals of How to Create and Manage a Team in Canva: Complete Guide helps you make informed decisions, and reliable information and consistent habits lead to better long-term outcomes.
You do not need a technical background to follow along. Every concept in this guide is explained in plain language, with steps you can act on today.
Key Concepts
Before you start inviting people, it helps to understand a few Canva-specific terms. These concepts shape how your team is organized and what each person can see or do.

Teams and Workspaces
A team in Canva is a shared space where members can access designs, folders, brand kits, templates, and other assets. Depending on your Canva plan, teams may be labeled as a workspace with shared folders. Think of the team as the umbrella: everything your group collaborates on lives underneath it.

Members and Roles
Canva assigns different roles to team members. Typical roles include administrators (who manage settings, billing, and membership) and members (who create and edit designs). Some plans offer additional or more granular permissions. Understanding roles matters because the wrong access level can either limit productivity or expose sensitive brand material to people who should not edit it.
Plans and Limits
Canva’s free and paid plans differ in how many people can join a team and what collaboration features are available. Free teams are small, while paid plans such as Canva Pro for Teams or Canva Enterprise support larger groups and more controls. You can always start small and upgrade as your needs grow.
Shared Folders and Brand Kits
Shared folders are the backbone of organization within a team. Brand kits store your colors, fonts, logos, and other assets so everyone designs on-brand. Managing these well is just as important as managing people.
Permissions and Approval Flows
Higher-tier plans may include controls like restricting who can share designs externally or requiring review before publishing. These features are optional but valuable for teams that handle sensitive content or maintain strict brand guidelines.
Deep Dive
Now let’s look at the practical details. Creating a team takes only a few minutes, but managing one well is an ongoing effort. This section covers setup, invitations, organization, and the day-to-day tasks that keep a team healthy.
Creating Your Team
To start, sign in to Canva and look for the option to create a new team or workspace, usually found in your account or profile menu. Give the team a clear name — often your business or project name — and confirm which plan you want. If you are upgrading, choose the plan that matches your headcount and feature needs.
Once the team exists, set it up before inviting people. Add your logo, upload brand fonts and colors to a brand kit, and create a starter folder structure. This preparation ensures that the first members who join see an organized space rather than a blank canvas.
Inviting Members and Assigning Roles
Invite people through the team management area by entering their email addresses or sharing an invite link. Decide each person’s role before sending the invitation. Administrators should be limited to people who genuinely need to manage billing, settings, and membership. Designers and editors should usually join as members.
Keep an eye on plan limits. If you run out of seats, you will need to remove inactive members or upgrade your plan. Reviewing membership quarterly is a simple habit that prevents waste.
Organizing Shared Assets
A tidy folder structure saves hours in the long run. Consider organizing by campaign, client, or asset type, and use consistent naming conventions. Pin the most-used folders or templates so they appear near the top for everyone. Keep an archive folder for completed projects so active folders stay clean.
Managing Permissions Day to Day
As your team changes, permissions need to change too. When a contractor finishes a project, remove their access promptly. When someone takes on a new role, adjust their permissions accordingly. A short offboarding checklist helps you avoid forgotten accounts that pose a security risk.
A Step-by-Step Approach
Follow these steps to create and manage your team in a structured way.
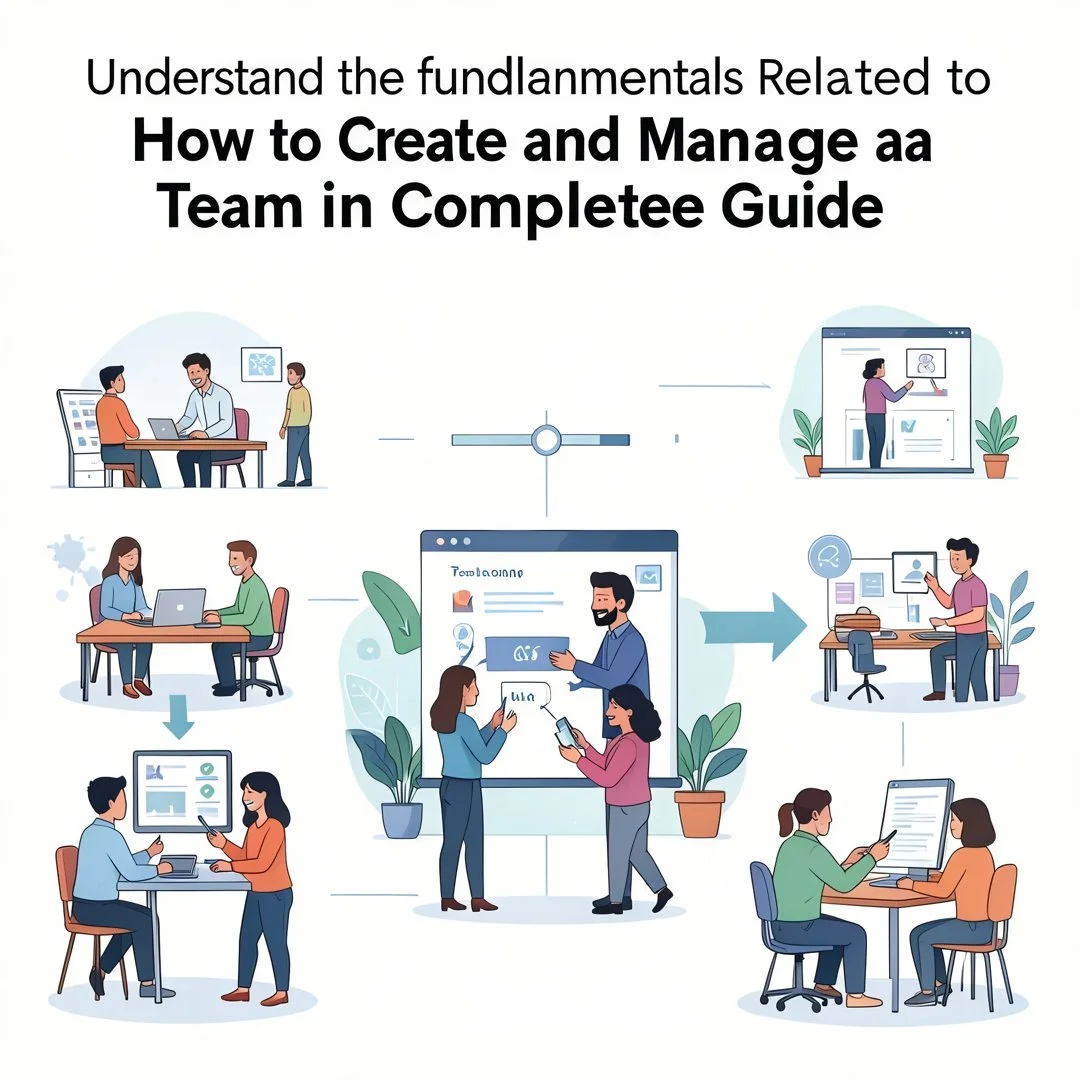
Step 1: Understand the fundamentals
Familiarize yourself with Canva’s team structure, member roles, and the features included in your plan. Knowing the difference between administrators and members, and how shared folders work, will prevent confusion later. Read Canva’s help center articles on teams and permissions so you understand what is available at your tier.
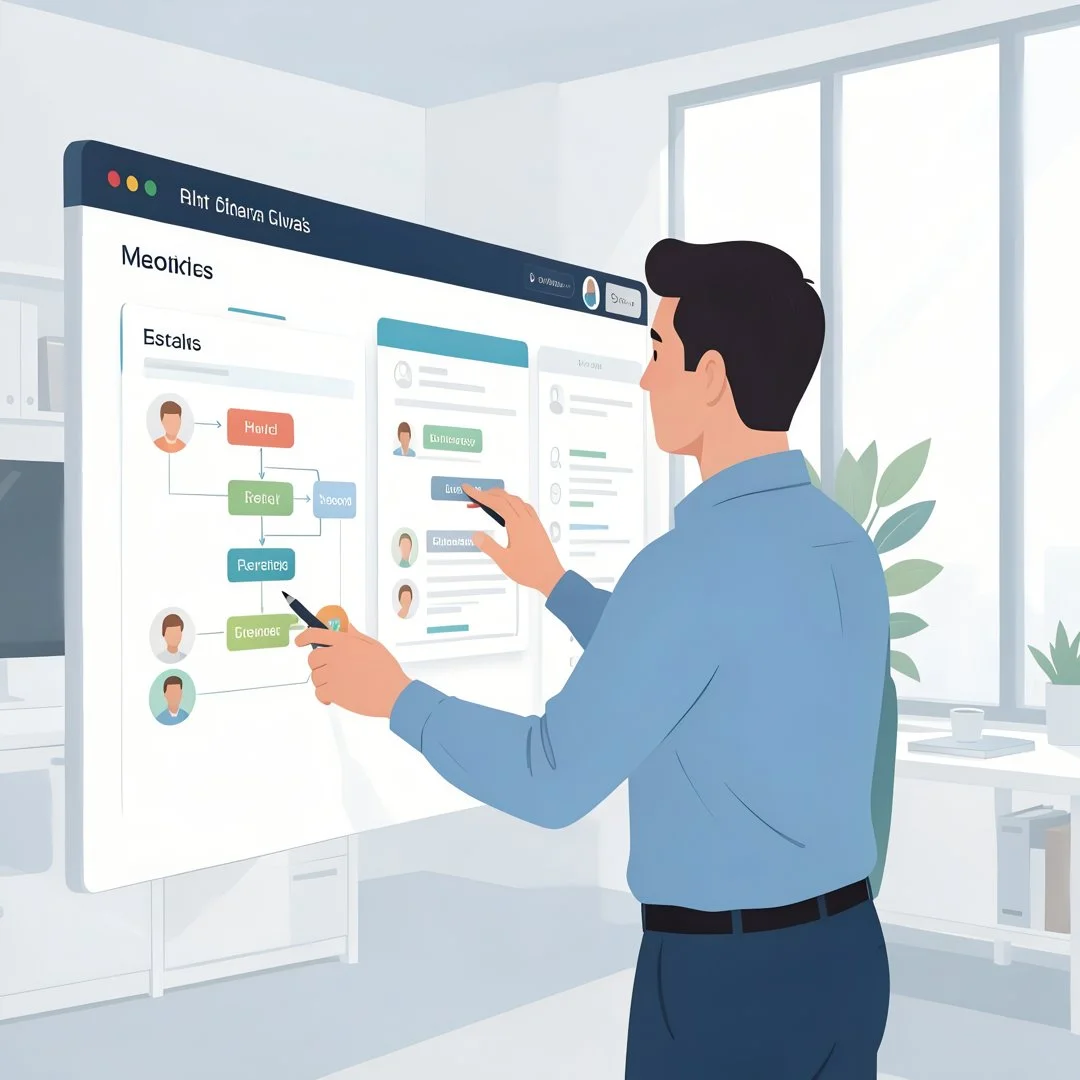
Step 2: Assess your starting point
Take stock of your current situation. How many people need access? What assets already exist in your account? Are there personal designs that should be moved into team folders? List the people who need access, their roles, and the content they need to work with. This inventory becomes your setup plan.
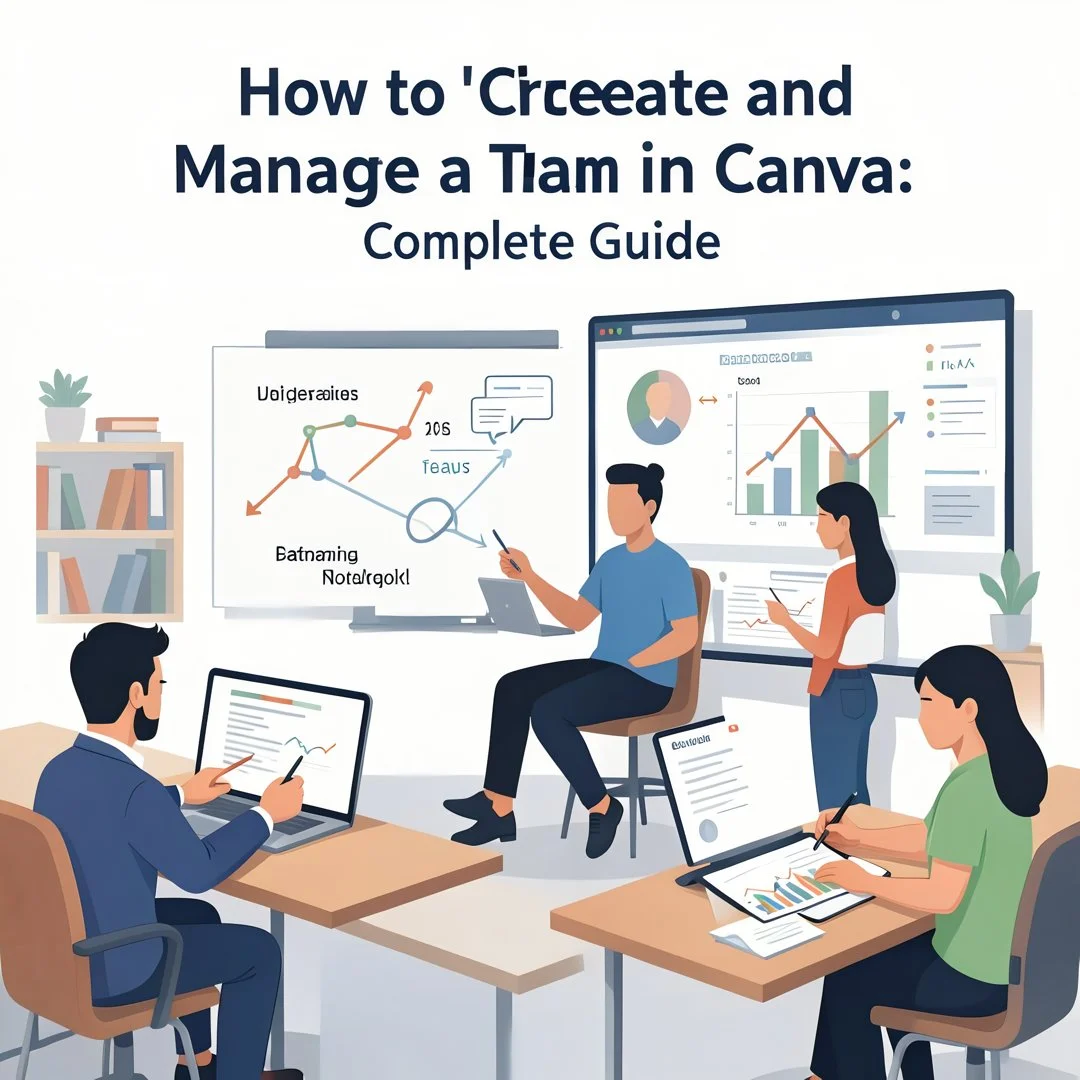
Step 3: Set clear goals
Define what success looks like for your team. Goals might include faster design turnaround, consistent brand usage across all materials, or reduced duplicate work. Write these goals down and share them with the team. Clear goals help you choose the right plan and the right level of structure.

Step 4: Gather necessary resources
Collect everything the team will need: logos, brand fonts, color codes, approved templates, and any legal or brand guidelines. Upload these to the brand kit and relevant folders before onboarding members. Gather contact details for invitations and confirm who will serve as the team administrator.
Step 5: Apply the core methods
Create the team, configure settings, set up folders and brand kits, and invite members with the correct roles. Then establish working methods: a folder structure, naming conventions, and a simple review process. Communicate these norms clearly so everyone knows how to find, edit, and share designs.
Step 6: Monitor your progress
Review your team regularly. Check whether members are active, whether folders are being used correctly, and whether the team is meeting the goals you set in Step 3. Adjust roles, permissions, and structure as needed. A quick monthly review prevents small problems from becoming persistent ones.
Best Practices
Once your team is up and running, these habits keep it functioning well over time.
- Onboard with a checklist. Give every new member the same welcome: a tour of folders, guidance on brand assets, the naming convention, and a point of contact for questions. Consistency speeds up adoption.
- Principle of least privilege. Grant the minimum access people need to do their work. Not everyone needs to be an administrator.
- Keep brand assets current. Update the brand kit when your logo, colors, or fonts change. Outdated assets lead to off-brand designs.
- Document your conventions. A short shared document explaining folder logic and naming rules saves constant explanation.
- Review membership quarterly. Remove inactive users, confirm roles are still appropriate, and check whether your plan still fits your headcount.
- Use templates to standardize. Locked-down templates reduce variation and help less experienced members produce on-brand designs.
- Encourage backup design knowledge. If only one person manages the team, train a second administrator so access and settings are not dependent on a single person.
These practices align with a broader point: reliable information and consistent habits lead to better long-term outcomes. Teams that treat setup as a one-time task eventually drift; teams that review and adjust stay efficient.
FAQ
What should I know about How to Create and Manage a Team in Canva: Complete Guide?
The most important things to understand are your plan’s member limits, the roles Canva offers, and how shared folders and brand kits organize team assets. Set up structure before inviting people, assign roles deliberately, and plan for regular review. If you remember nothing else, remember that creating the team is quick — managing it well requires ongoing attention and consistent habits.
Who is this guide for?
This guide is for anyone who wants to use Canva collaboratively: small business owners bringing on staff, freelancers working with clients, nonprofit volunteers, and marketing or HR teams in larger organizations. It assumes no technical background and is written for both first-time team creators and people who already have a team but want to organize it better. If you can use a web browser, you can follow this guide.
Can I change my team plan later?
Yes. You can upgrade, downgrade, or change plan types as your needs evolve. Keep in mind that downgrading may affect member limits and certain features, so plan changes carefully and inform your team.
How do I remove a team member?
Administrators can remove members from the team management area. Removing someone revokes their access to team folders and assets. Do this promptly when a contractor finishes a project or an employee leaves.
Conclusion
Creating and managing a team in Canva is straightforward when you follow a clear sequence: understand the fundamentals, assess your needs, set goals, gather resources, apply the core methods, and monitor progress over time. The setup takes minutes, but the benefits — shared brand assets, fewer duplicate designs, and smoother collaboration — compound with consistent habits. Whether your team is two people or twenty, take the steps above, review your setup regularly, and adjust as you grow.
You now have a solid foundation for How to Create and Manage a Team in Canva: Complete Guide. Apply the best practices above and revisit this guide as your needs evolve.