Canva makes it easy to create stunning designs, but collaborating with your team is where the real magic happens. Whether you’re working on a marketing campaign, a presentation, or a brand kit, knowing how to share Canva designs with your team keeps everyone aligned and moving forward efficiently.
In this complete collaboration guide, you’ll learn step-by-step how to share Canva designs with your team, manage permissions, and use folders and comments to streamline your workflow. From inviting collaborators to organizing shared projects, these practical tips will help your team create and deliver better designs together.
Introduction
Canva has become one of the most widely used design platforms for teams of every size, from two-person startups to large marketing departments. Its drag-and-drop interface makes it easy for anyone to create polished graphics, presentations, social media posts, and documents. But designing alone is only half the story. The real value emerges when you can share Canva designs with your team, gather feedback, and collaborate in real time without endless email threads or messy file versions.
This article explores How to Share Canva Designs with Your Team: Complete Collaboration Guide with clear, practical guidance. Whether you are setting up sharing for the first time or refining an existing workflow, you will find actionable steps that help your team work faster and stay aligned. Understanding the fundamentals of sharing and collaboration helps you make informed decisions about permissions, folder structures, and review processes.
Collaboration in Canva is not complicated, but it does reward a thoughtful approach. Teams that establish clear habits around sharing tend to avoid common pitfalls such as accidental edits, lost feedback, or duplicated work. By the end of this guide, you will know how to choose the right sharing method, manage access levels, and build a consistent collaboration routine that supports better long-term outcomes.
Key Concepts
Before diving into specific steps, it helps to understand a few core concepts that underpin how Canva sharing works. These concepts apply across all Canva plan tiers, though some features are more robust on paid plans.
Sharing methods
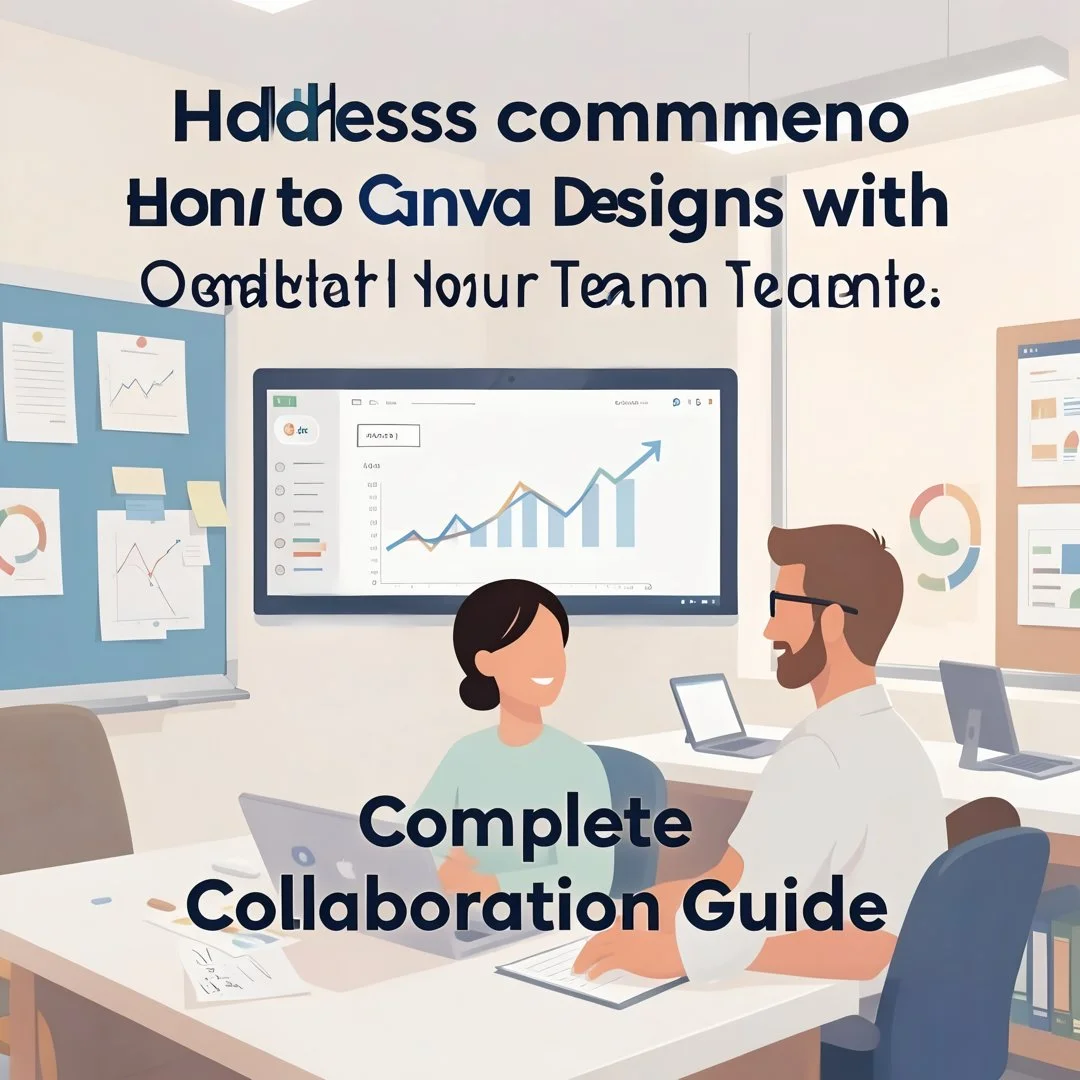
Canva offers several ways to share a design. You can share directly with individual people by email address, generate a link that can be viewed or edited, share entire folders, or present a design live to an audience. Each method serves a different purpose, and choosing the right one depends on whether you need active collaboration, passive viewing, or public distribution.

Permission levels
Every share in Canva comes with a permission level. Common options include “Can view,” “Can comment,” and “Can edit.” Understanding these levels is essential because they determine what recipients can do with your design. View-only access is ideal for stakeholders who just need to review, comment access suits reviewers who should not change the design, and edit access is for team members actively contributing.
Folders and team spaces
Organizing designs into folders is a sharing mechanism in itself. Shared folders give everyone in a team consistent access to the same set of assets. Canva also offers team spaces and brand kits on higher-tier plans, which centralize brand assets and simplify collaboration across larger groups.
Real-time collaboration versus asynchronous review
Canva supports live, simultaneous editing, similar to shared documents. It also supports asynchronous workflows where commenters leave feedback that editors address later. Knowing which mode suits your project helps you set expectations and avoid overlap or confusion.
- Real-time collaboration: Best for brainstorming sessions, quick fixes, and co-designing.
- Asynchronous review: Best for structured feedback, approvals, and work across time zones.
- Link sharing: Best for fast distribution to large or external audiences.
- Folder sharing: Best for ongoing projects and recurring team assets.
Deep Dive
Sharing Canva designs effectively requires more than clicking a button. It involves planning how your team will use designs, who needs access, and how feedback will flow. This deep dive breaks the process into a practical step-by-step framework you can apply to any project.
Step 1: Understand the fundamentals
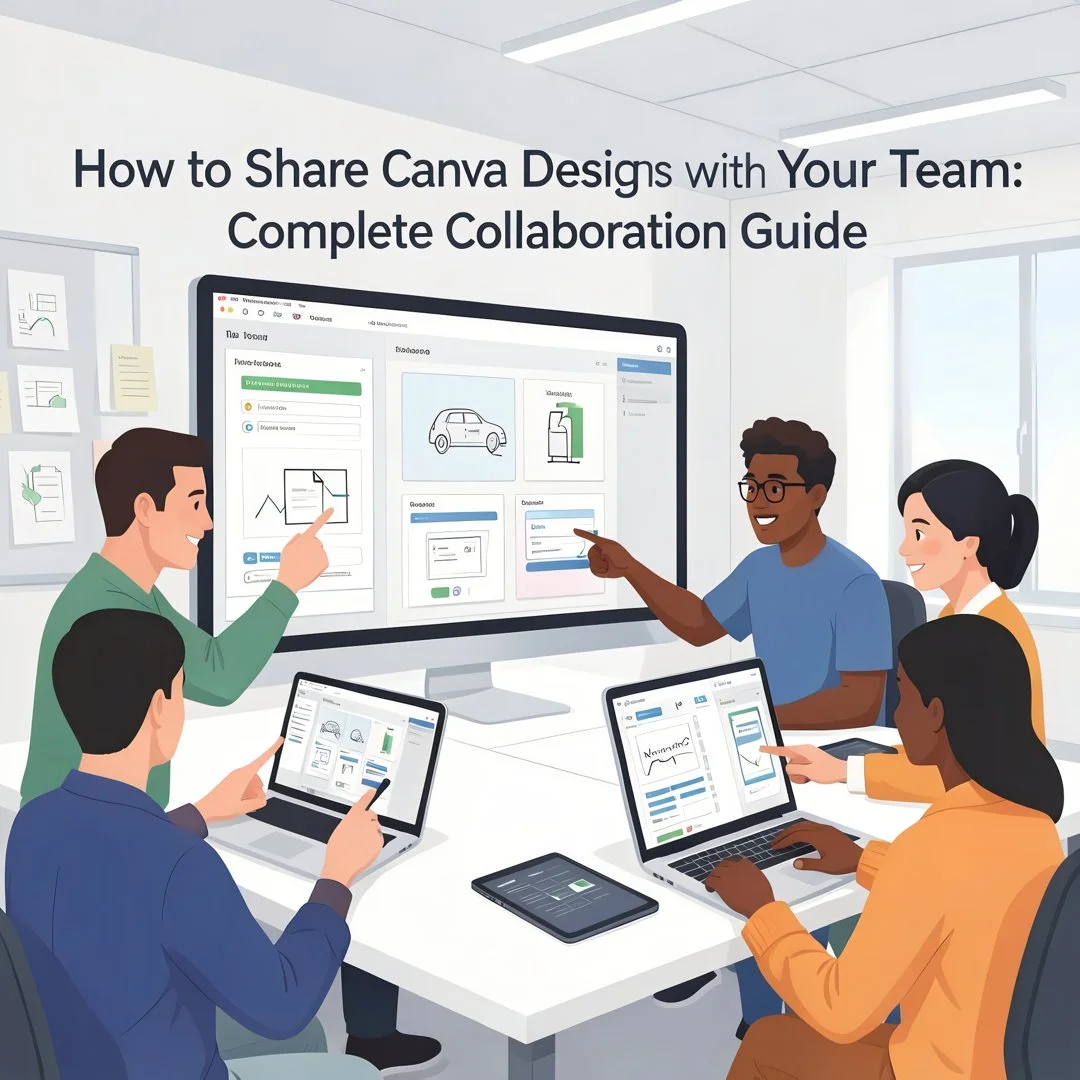
Start by familiarizing yourself with the sharing controls available in your Canva plan. Open a design, look for the “Share” button in the top-right corner, and review the options. Note where you can invite people by email, copy a link, adjust permissions, or share with a team or folder. On paid plans, you may also see options for brand controls, approval workflows, and team-level permissions.
Understanding these fundamentals helps you make informed decisions later. Take a few minutes to explore the permission settings and consider what each level means for your project. For example, invite-only editing prevents accidental changes from stakeholders who only need to review. Link sharing with view access is useful for broad distribution but may not suit sensitive or unreleased materials.

Step 2: Assess your starting point
Before you invite anyone, assess the current state of your design and your team’s workflow. Ask yourself a few practical questions:
- Is the design ready for feedback, or is it still a rough draft?
- Who needs to view, comment, or edit it?
- Do you need version control or approvals before publishing?
- Does your team already have shared folders or a naming convention?
This assessment prevents common mistakes, such as sharing an unfinished draft too widely or granting edit access to people who only need to review. It also highlights gaps in your workflow, like the absence of a shared folder structure, that you can fix before you scale up collaboration.

Step 3: Set clear goals
Define what success looks like for the collaboration. Goals could be as simple as “collect feedback from three stakeholders by Friday” or as structured as “route the final design through an approval workflow before publishing.” Clear goals shape your sharing choices. If the goal is fast feedback, comment access and a shared link work well. If the goal is final approval, you may need a formal review step and restricted permissions.
Setting goals also clarifies team roles. Decide who is the owner, who edits, who reviews, and who approves. Writing these roles down, even informally in a project message, prevents confusion and duplicated effort later.

Step 4: Gather necessary resources
Collect everything the team needs before you share. This includes brand assets, logos, fonts, color codes, and any reference material. On Canva’s higher-tier plans, brand kits and team libraries make these resources available automatically, which reduces friction. If you are on a free plan, create a shared folder that holds approved assets and link to it from your project communication.
Also confirm that everyone you plan to invite has a Canva account. Sharing with email invitations works best when recipients can accept and access designs immediately. For external collaborators, decide in advance whether link sharing is acceptable or whether you need to invite them with specific permissions.

Step 5: Apply the core methods
Now you are ready to share. Follow a consistent sequence to keep your workflow organized:
- Organize first: Move the design into the correct folder before sharing, so recipients find it in context.
- Invite with intent: Use email invitations with the appropriate permission level for each person.
- Use link sharing wisely: Choose “Anyone with the link can view” for broad distribution, and restrict to “Can comment” or “Can edit” only when necessary.
- Communicate the workflow: Tell the team how to leave feedback, where to find the design, and what deadline applies.
- Use comments for feedback: Encourage reviewers to use Canva’s commenting feature rather than sending feedback through separate channels.
If your team uses approval workflows on a paid plan, submit the design for review and let reviewers approve or request changes within Canva. This keeps feedback traceable and ties directly to the design.
Step 6: Monitor your progress
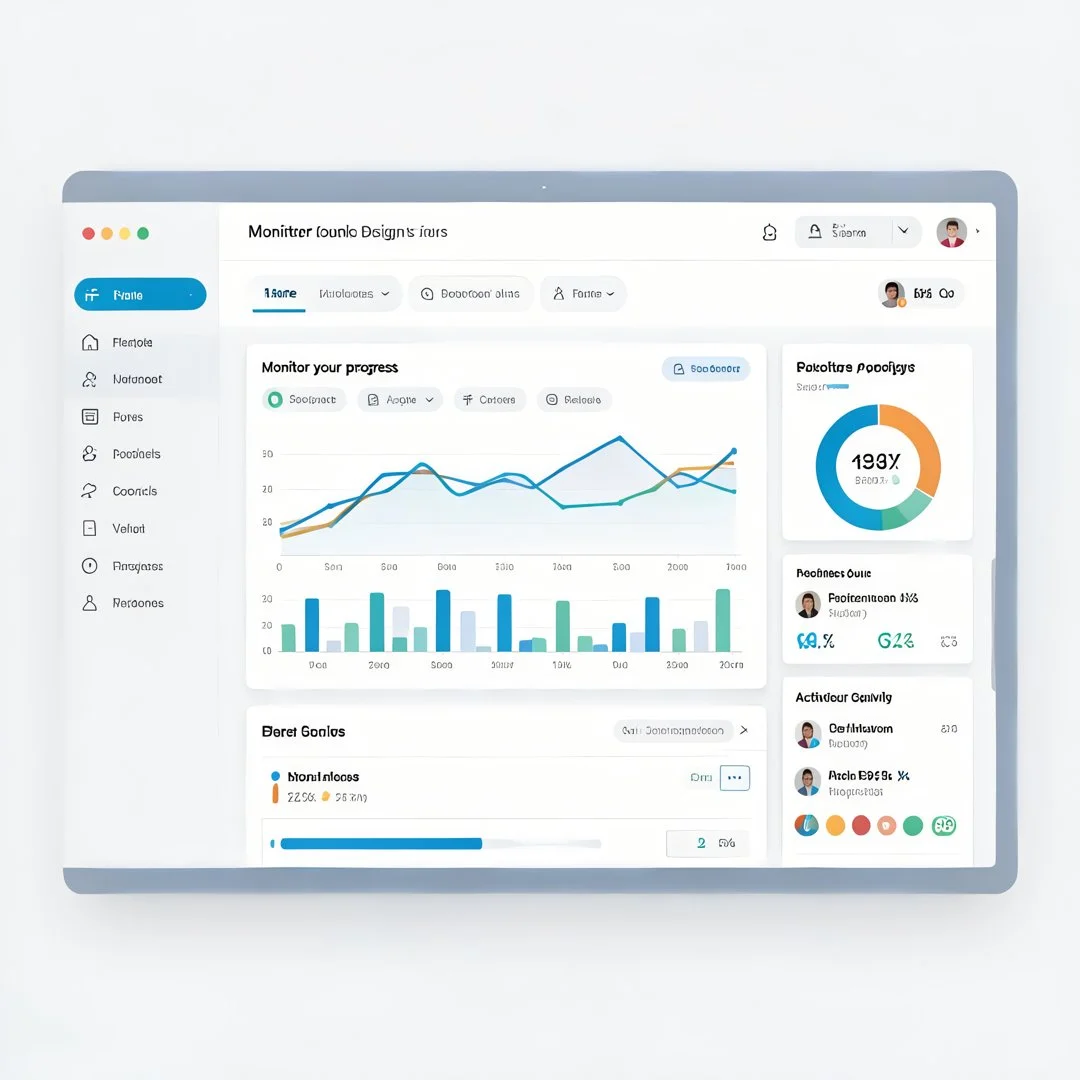
After sharing, monitor how collaboration unfolds. Check comments, track which reviewers have responded, and watch for overlapping edits. Canva’s version history helps you track changes and restore earlier versions if needed. On team plans, activity indicators show who has accessed or edited a design.
Monitoring is also about improving your process. If feedback is scattered across email and chat, bring it back into Canva comments. If reviewers keep requesting edits beyond their permission level, adjust access. Consistent monitoring helps you spot friction early and keep projects on schedule.
Best Practices
Reliable information and consistent habits lead to better long-term outcomes. The following best practices help your team build a dependable Canva collaboration routine.
- Use folders consistently: Establish a naming convention and folder structure so designs are easy to find and share.
- Apply the principle of least privilege: Give the minimum access people need. Most reviewers only need comment access.
- Keep feedback in Canva: Centralize comments in the design to prevent version confusion and lost context.
- Document your workflow: Write a short team guide covering roles, permissions, and review steps.
- Review access periodically: Remove collaborators who no longer need access and audit shared links.
- Use brand kits on paid plans: Centralize logos, fonts, and colors to keep designs consistent and reduce setup time.
- Name versions clearly: Use comments or design names to mark drafts, review rounds, and final versions.
- Test link sharing before sending widely: Open the link in a private window to confirm it behaves as expected.
Teams that follow these habits spend less time resolving access issues and more time creating. Small, consistent actions, such as moving designs into the right folder before sharing, compound into smoother collaboration over time.
FAQ
What should I know about How to Share Canva Designs with Your Team: Complete Collaboration Guide?
The most important thing to know is that sharing in Canva is flexible, and the right approach depends on your team’s needs. Focus on three factors: the permission level you grant, the method you use (email invitation, link, or folder), and how feedback will flow. Understanding these factors helps you make informed decisions and avoid accidental edits or missed feedback. It also helps to review your plan’s features, since team spaces, brand kits, and approval workflows are more available on paid tiers.
Who is this guide for?
This guide is for anyone who uses Canva with others: marketing teams, small business owners, freelancers working with clients, educators, and nonprofit volunteers. It suits both beginners setting up sharing for the first time and experienced users looking to refine their workflow. The guidance is general enough to apply across industries and specific enough to give you clear, actionable steps.
Can I share a Canva design with someone who does not have a Canva account?
Yes. You can share a view-only or comment link that recipients can open without signing in, depending on your settings. However, to edit a design, a person generally needs a Canva account. Check the link settings carefully before.
You now have a solid foundation for How to Share Canva Designs with Your Team: Complete Collaboration Guide. Apply the best practices above and revisit this guide as your needs evolve.