Got a Canva Team invitation in your inbox but aren’t sure what to do next? Whether you’re joining a design team at work or collaborating on a shared project, accepting the invite is quick and straightforward—as long as you know where to click and which account to use. This step-by-step tutorial walks you through exactly how to accept a Canva Team invitation link, from opening the email to confirming your access.
We’ll also cover common snags, like expired links, wrong-account logins, and pending invitations that never arrived, so you can get into your team workspace without the guesswork. By the end, you’ll know how to accept a Canva Team invitation link confidently and start collaborating in minutes.
Introduction
Receiving a Canva team invitation link is usually a moment of excitement — someone has invited you to collaborate on designs, share brand assets, or work inside a shared workspace. But when the email arrives, the path forward is not always obvious. The link may open in the wrong browser, the invitation may appear expired, or you may be asked to create an account you did not expect to need. This article explores How to Accept a Canva Team Invitation Link: Step-by-Step Tutorial with clear, practical guidance, walking you through every stage from opening the email to confirming that your new team workspace is fully accessible.
The process itself is short, but small details matter. Whether you are joining as a designer, a marketer, a freelancer receiving client access, or an administrator onboarding a whole group, understanding the mechanics of the invitation link saves time and prevents frustrating loops. By the end of this guide, you will know exactly what happens when you click the link, what to do if it fails, and how to build habits that keep your team access secure and reliable over the long term.
Key Concepts
Before walking through the steps, it helps to understand a few core ideas that shape how Canva team invitations work. These fundamentals explain why the process sometimes behaves differently than expected and help you troubleshoot with confidence.
What a team invitation link actually is
A Canva team invitation link is a unique URL tied to a specific team and, often, a specific email address. When you click it, Canva checks whether you are signed in, whether your account email matches the invitation, and whether the invitation is still valid. If everything lines up, you are added to the team workspace and can immediately see shared folders, brand kits, and designs the team has made available to you.
Roles and permissions
Teams on Canva are not one-size-fits-all. Invitations may assign you as a member, an administrator, or a template designer, depending on what the person who invited you selected. Your role determines what you can create, edit, share, and delete. Knowing your role in advance helps you notice quickly if you have been given the wrong level of access.
Accounts versus teams
Your personal Canva account is separate from any team you join. One account can belong to multiple teams, and you can switch between them from the account menu. This distinction matters because accepting an invitation never merges your personal designs into the team — it simply grants you a doorway into a shared space.
Expiration and single-use behavior
Many invitation links expire after a set period, typically a few days, and some are designed for a single recipient. If a link has expired or was already used by someone else, it will show an error rather than adding you to the team. Recognizing this early prevents wasted effort.
Deep Dive
Understanding the fundamentals of How to Accept a Canva Team Invitation Link: Step-by-Step Tutorial helps you make informed decisions at each stage, from which browser to use to how to handle a mismatched email address. The following walkthrough breaks the process into six clear phases, followed by the most common problems and their fixes.
Step 1: Understand the fundamentals
Start by reading the invitation email carefully. Note the team name, the email address the invitation was sent to, and any expiry date mentioned. Check who sent it — legitimate invitations come from Canva’s official domain, and the link should point to canva.com. Confirm that the email address on the invitation matches the one you use for your Canva account. If they differ, decide now whether to sign in with the matching account or ask the sender to resend the invitation to your preferred address. This single check eliminates the most common cause of failed acceptance.

Step 2: Assess your starting point
Next, look at your current situation. Do you already have a Canva account, or will you need to create one? Are you signed in on the browser or device you plan to use? Are you using a personal email, a work email managed by your organization, or a shared inbox? Each scenario has slight variations. If your organization uses single sign-on, for example, signing in through your company credentials is the smoothest route. Taking a moment to assess where you are starting from means you will not be surprised halfway through by a password reset or an account-verification prompt.
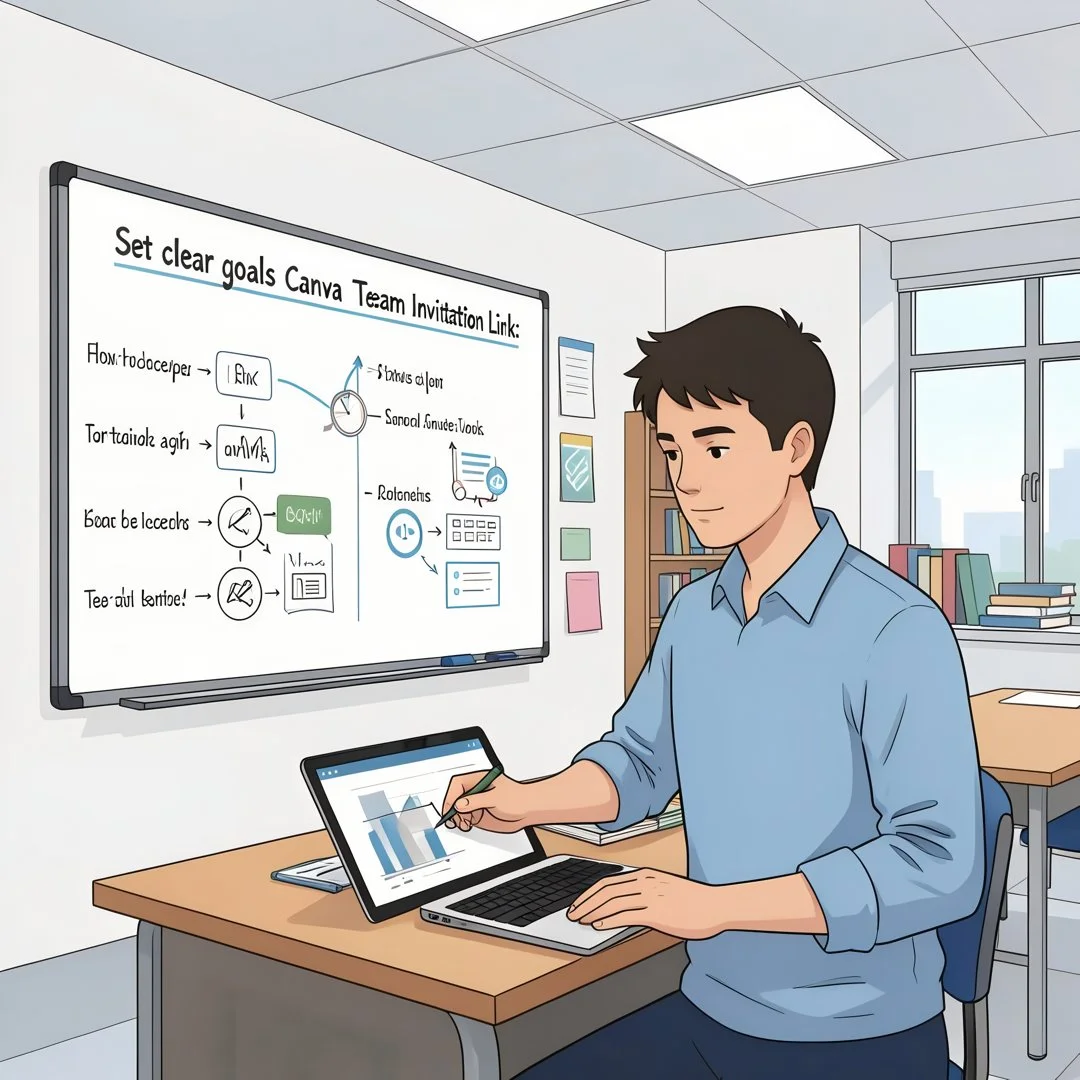
Step 3: Set clear goals
Define what success looks like before you click. For most people, success means seeing the team’s shared designs and folders and knowing which role you hold. For administrators, it may mean confirming that every invited member has accepted and appears in the team member list. For freelancers, it may mean verifying that you can access the specific client project you were hired for — and nothing more. Clear goals also help you spot problems: if you accept the invitation but cannot see the folders you were promised, you know immediately to raise it with the team owner.
Step 4: Gather necessary resources
Have everything ready before you begin. You will need the invitation email itself, the password or sign-in method for your Canva account, and access to the email inbox the invitation was sent to, since Canva may send a verification code. Use an up-to-date browser such as Chrome, Firefox, Safari, or Edge, and if you plan to work on a phone, ensure the Canva app is installed and updated. If the invitation came through a workplace channel such as Slack or a messaging app, confirm that the link is the original one rather than a forwarded or truncated copy, which may not work.
Step 5: Apply the core methods
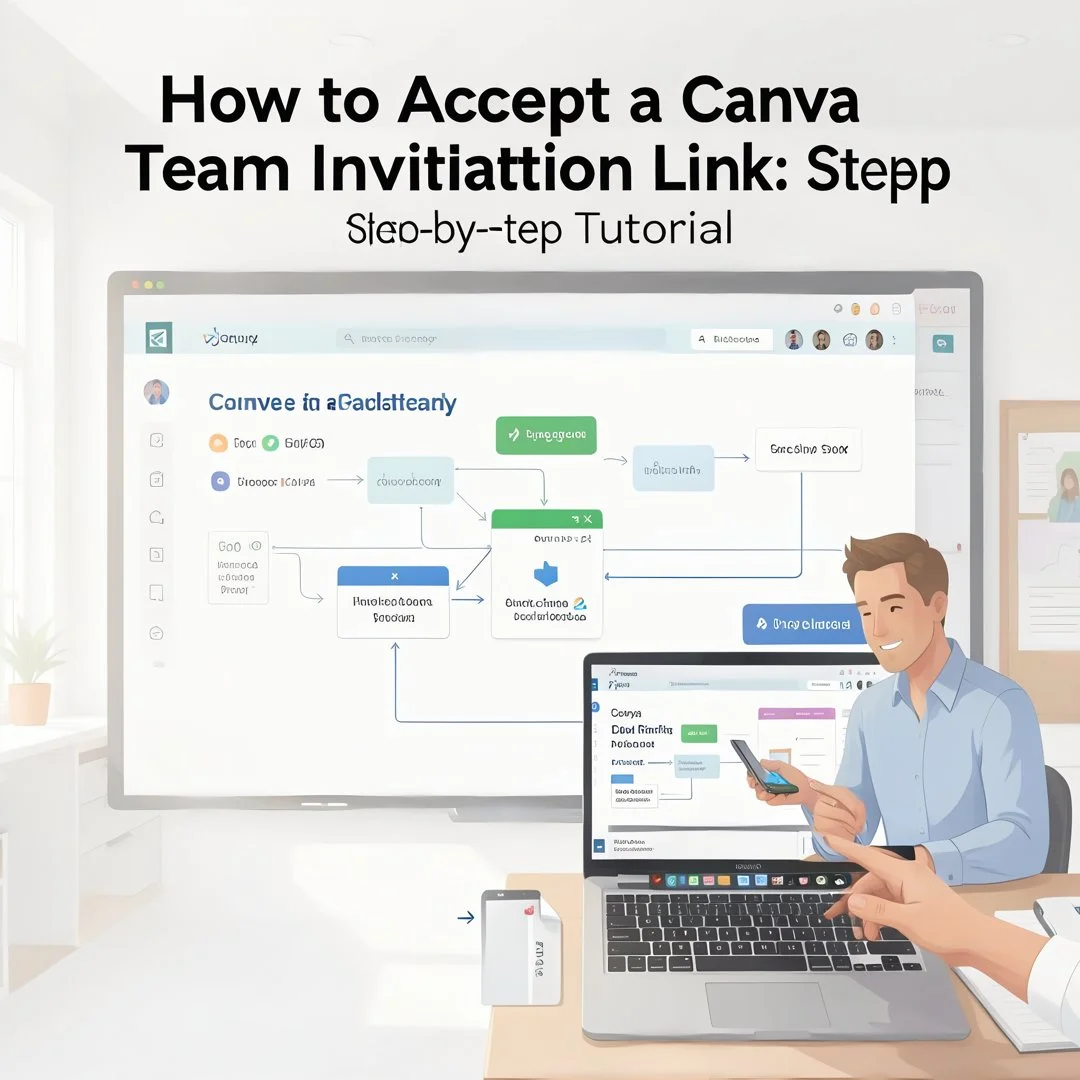
Now accept the invitation using the method that fits your situation:
- Direct link click: Open the invitation email and click the accept button or link. If you are not signed in, Canva will prompt you to sign in or create an account first, then add you to the team automatically.
- Copy and paste: If clicking does nothing, copy the full URL and paste it directly into your browser’s address bar. This fixes links broken by email clients that strip or alter hyperlinks.
- In-app route: Open the Canva app, sign in, and look for a notification or a pending-invitation notice in your account menu. Some invitations appear there as an alternative to the email link.
- Accepting after sign-up: If you are new to Canva, complete the sign-up using the exact email address the invitation was sent to. Canva will then match the new account to the pending invitation.
Once you click accept, Canva processes the invitation and, if successful, opens the team dashboard. You will see the team name in the account switcher and the team’s shared content in the projects area. If the link instead shows an error, move to troubleshooting rather than repeatedly clicking: check that you are signed in with the right email, confirm the link has not expired, and request a fresh invitation if needed.
Step 6: Monitor your progress
After acceptance, verify that everything is as expected. Confirm that the team appears in your account switcher, that you can open shared folders, and that your role matches what was promised. Send a brief reply to the person who invited you to confirm you are in, or ask the team owner to check the member list if you are still uncertain. Over the following days, pay attention to whether you can access the designs you need for your work. Catching a permissions issue early is far easier than discovering it a week later when a deadline is looming.
Best Practices
Reliable information and consistent habits lead to better long-term outcomes, and accepting an invitation is only the first step in a healthy collaboration. The following habits keep your team access secure and your workflow smooth.
- Use the email address the team expects. Joining with your personal email when the team manages a work email address can create duplicate accounts and confusion later.
- Never forward invitation links casually. Invitation links can often be used by whoever holds them, so share access only through official team invitations.
- Accept promptly. Invitations expire. Acting within a day or two of receiving the email avoids the need for a resend.
- Keep your Canva app and browser updated. Old versions of browsers and apps are a frequent cause of links that refuse to open.
- Review your role. If you only need to view designs, ask for a role that reflects that. Least access is safer access.
- Name and organize your own designs. Once inside the team, keep personal works-in-progress clearly named so teammates can tell them apart from shared assets.
- Remove old teams. If you have left a project or organization, leave the team workspace so your account list stays tidy and permissions stay current.
- Keep contact details current. If your email address changes, update it in Canva so future invitations and security notices reach you.
FAQ
What should I know about How to Accept a Canva Team Invitation Link: Step-by-Step Tutorial?
The most important thing to know is that the process depends on matching identities. Canva checks that the account you are signed into uses the same email address the invitation was sent to, and that the link has not expired or been used already. Accepting is normally a single click followed by a sign-in, but if you use the wrong account, a personal address instead of a work one, or an outdated browser, the link will appear to fail. In most cases the fix is straightforward: sign in with the correct email, open the link in an up-to-date browser, or ask the team owner to resend the invitation. Once accepted, confirm your role and that you can see the shared folders you were promised.
Who is this guide for?
You now have a solid foundation for How to Accept a Canva Team Invitation Link: Step-by-Step Tutorial. Apply the best practices above and revisit this guide as your needs evolve.