Sharing design work shouldn’t feel complicated, yet many teams hesitate when it comes to adding collaborators. If you’ve ever wondered how Canva Pro Team invitations work, the process is simpler than you might think—and getting it right saves time, avoids unwanted access, and keeps your projects organized from day one.
In this guide, we’ll walk through sending and accepting invitations, managing roles and permissions, troubleshooting common issues, and keeping your team secure. Whether you’re onboarding a new designer or restructuring your workspace, you’ll find clear, actionable steps to make Canva Pro Team invitations work smoothly for everyone involved.
Introduction
Canva Pro’s team invitation feature is one of the most useful capabilities in the platform, yet many users send their first invite without fully understanding what happens behind the scenes. Who gets billed? What can the invited person see? How do you remove someone later without disrupting their work? These questions matter because team invitations touch on design collaboration, account security, and subscription costs all at once. This article explores How Canva Pro Team Invitations Work: Everything You Need to Know with clear, practical guidance, so you can invite the right people, assign the right roles, and avoid common pitfalls such as accidental billing seats or shared folders you never intended to create.
Understanding the fundamentals of How Canva Pro Team Invitations Work: Everything You Need to Know helps you make informed decisions. Whether you are a solo designer bringing on a freelancer, a small business owner onboarding staff, or a manager coordinating a marketing department, the mechanics of invitations are the same. The difference lies in how deliberately you plan them. Reliable information and consistent habits lead to better long-term outcomes, and that principle applies directly to how you structure your team from day one.
Key Concepts
Before diving into the mechanics, it helps to understand the vocabulary Canva uses. These terms appear throughout the invitation process and shape what your invited members can and cannot do.
- Team: A group of Canva accounts connected under a single Canva Pro, Canva for Teams, or Enterprise subscription. A team has a shared space for designs and folders separate from each member’s personal projects.
- Administrator (Admin): The account holder or delegated user who can send and revoke invitations, manage roles, control billing, and adjust team-wide settings. By default, the person who purchased the subscription is the admin.
- Member: An invited user with access to the team’s shared designs, brand kit, and templates. Members typically cannot manage billing or invite new people unless granted that permission.
- Seat: A license slot tied to your subscription. Each accepted invitation consumes a seat, which counts toward the total included in your plan. Understanding seats is critical because billing is based on them.
- Invitation link vs. email invite: Canva allows you to invite people by email address or to generate a shareable invite link. Email invites are targeted and trackable; links are convenient but can be forwarded, so they require more caution.
- Brand Kit and shared folders: Team members gain access to centralized brand assets and any folders shared across the team space. Knowing which content you want pooled versus kept private helps you organize your team space sensibly.
Deep Dive
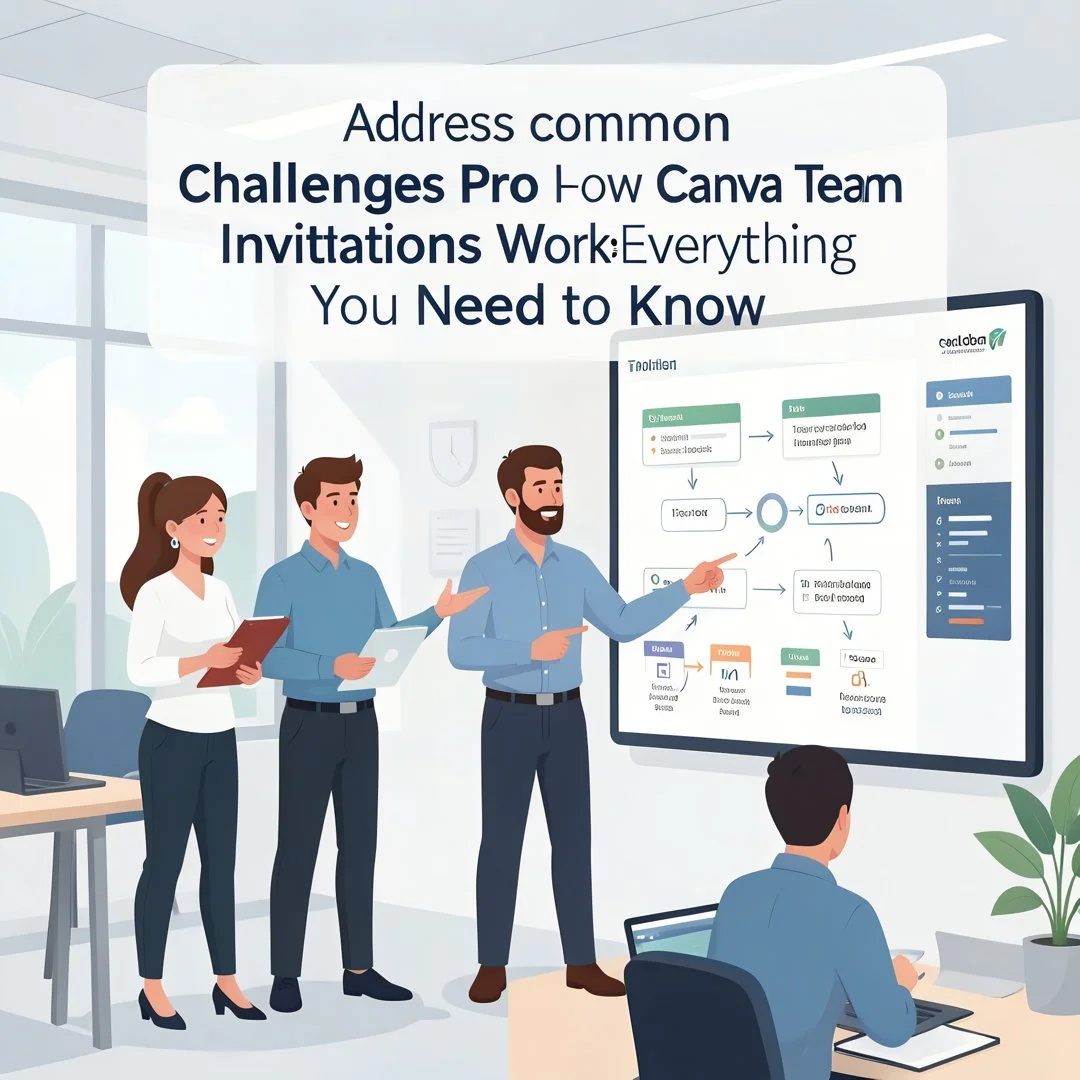
The invitation process itself is straightforward, but the details around roles, billing, and access are where most confusion arises. When an admin sends an invitation from the team management area, Canva generates either an email invitation or an invitation link. If the recipient does not yet have a Canva account, they will be prompted to create one as part of accepting. Upon acceptance, their account joins your team and their seat becomes active.
Billing deserves particular attention. If you are on an annual plan with a fixed number of seats purchased in advance, inviting more people than your seat count may trigger an upgrade prompt or an additional charge. If you added seats and later remove a member, you are not usually refunded automatically; instead, the freed seat becomes available for a new invitee. This is why some admins prefer to plan team size before purchasing and avoid inviting people casually “just to take a look.”
Roles and permissions add another layer. Admins control billing and member management. Members can create and collaborate freely within the shared space. Some plans introduce finer roles or permission settings, such as restricting who can delete folders or publish to shared brand templates. It is worth exploring your team’s settings to see what granular controls your plan offers, because default permissions are often more permissive than organizations expect.
Removal and transfer are also part of the picture. Removing a member revokes their access to team content but does not delete their personal account or their ability to create a separate Canva account. Designs they created within the team space generally remain with the team, which is a deliberate design decision to protect organizational assets. Before removing anyone, confirm that important designs are in appropriate team folders rather than personal spaces, and consider transferring ownership where needed.
Security considerations round out the deep dive. Because invitation links can be forwarded, treat them like passwords: set expiration where supported, avoid posting them in public channels, and revoke unused links promptly. For larger organizations, pairing invitations with single sign-on or domain verification adds control over who can join your team.

Best Practices
Strong habits around invitations prevent most problems before they start. The following practices are widely recommended for anyone managing a Canva team.
- Plan seats before inviting: Decide how many people need access now and how many might join later. Match that count to your purchased seats to avoid surprise charges.
- Use email invitations for accountability: Reserve link-based invitations for time-sensitive situations where you control distribution of the link. Email invites give you a clear record of who was invited and when.
- Assign the minimum necessary role: Keep admin rights limited to people who genuinely need to manage billing or membership. Fewer admins means fewer accidental changes.
- Set up shared folders first: Create the folder structure before inviting people so new members land in an organized workspace rather than a cluttered shared space.
- Write a short onboarding note: Include basic guidance in your invitation email or a pinned document: where to find brand assets, which folders are shared, and who to ask for help.
- Review access regularly: Prune inactive members at least quarterly. Each removal frees a seat and reduces clutter.
- Document your team structure: Keep an internal note listing admins, members, and the purpose of each shared folder. This small habit pays off during staff changes.
Reliable information and consistent habits lead to better long-term outcomes. These practices turn invitations from a one-off click into a repeatable, low-risk process that scales as your team grows.
Step-by-Step Guide
Follow these steps in order when setting up invitations for your team. The sequence matters because each step builds on the one before it.
Step 1: Understand the fundamentals
Confirm that your subscription is active and that you know which plan you are on, since seat limits and role options vary by plan. Locate the team management area in your account settings and review the current member list, seats included, and invitations already pending. Knowing the basics of how seats, roles, and shared spaces interact will save you from rework later.
Step 2: Assess your starting point
Audit your current workspace before inviting anyone new. Check how many seats are currently filled, whether any invitations are outstanding, and whether your shared folders and brand kits are tidy. If your account has been running for a while, you may find old invitations that were never accepted or members who have left. Clean this up first so the state of your team is accurate.
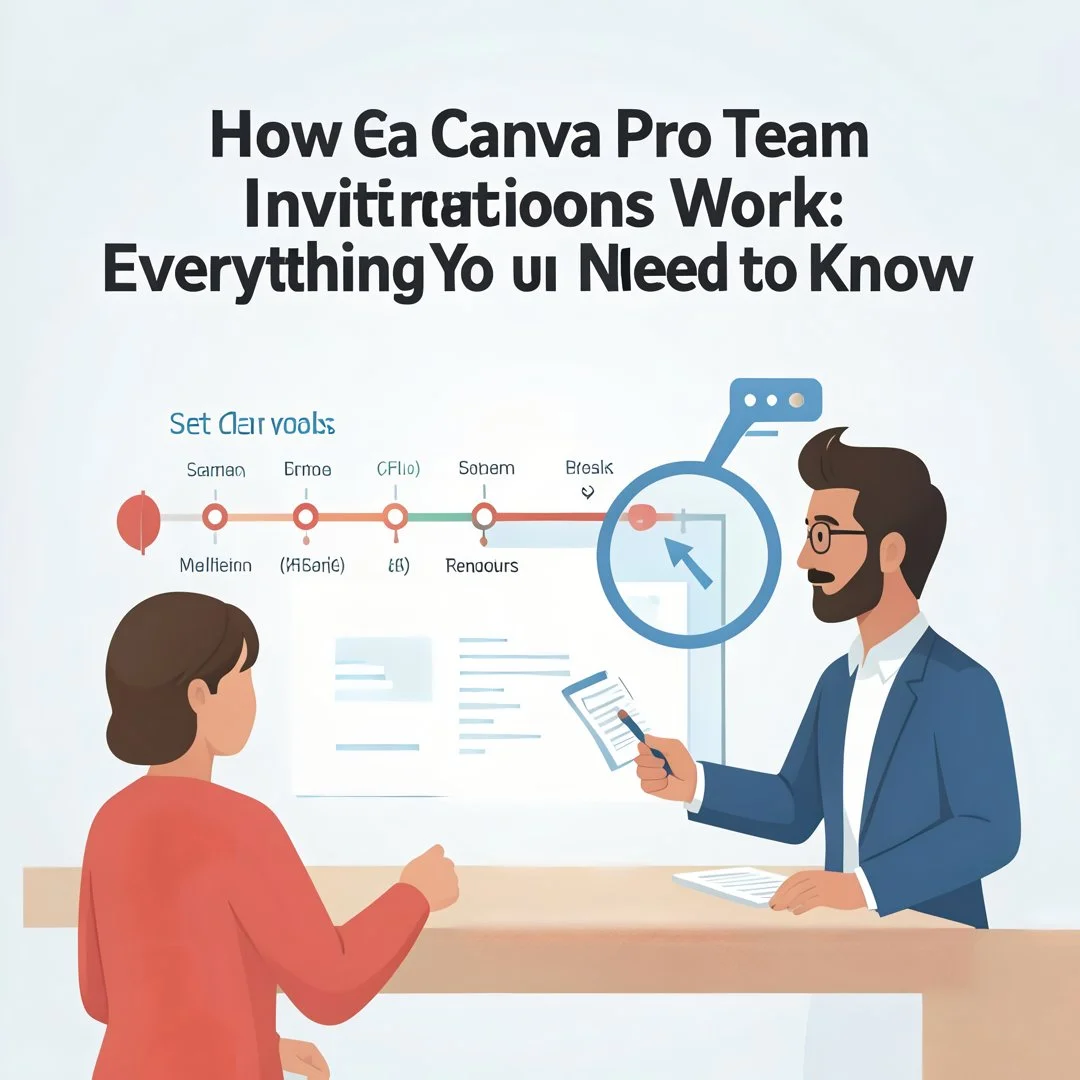
Step 3: Set clear goals
Define what each invited person should be able to do. Write a simple list: who needs admin rights, who needs full member access, and which projects they will work on. Decide which folders will be shared and which content should remain personal. Goals as simple as “onboard three campaign designers to the shared marketing folder” make the remaining steps much easier to execute and verify.
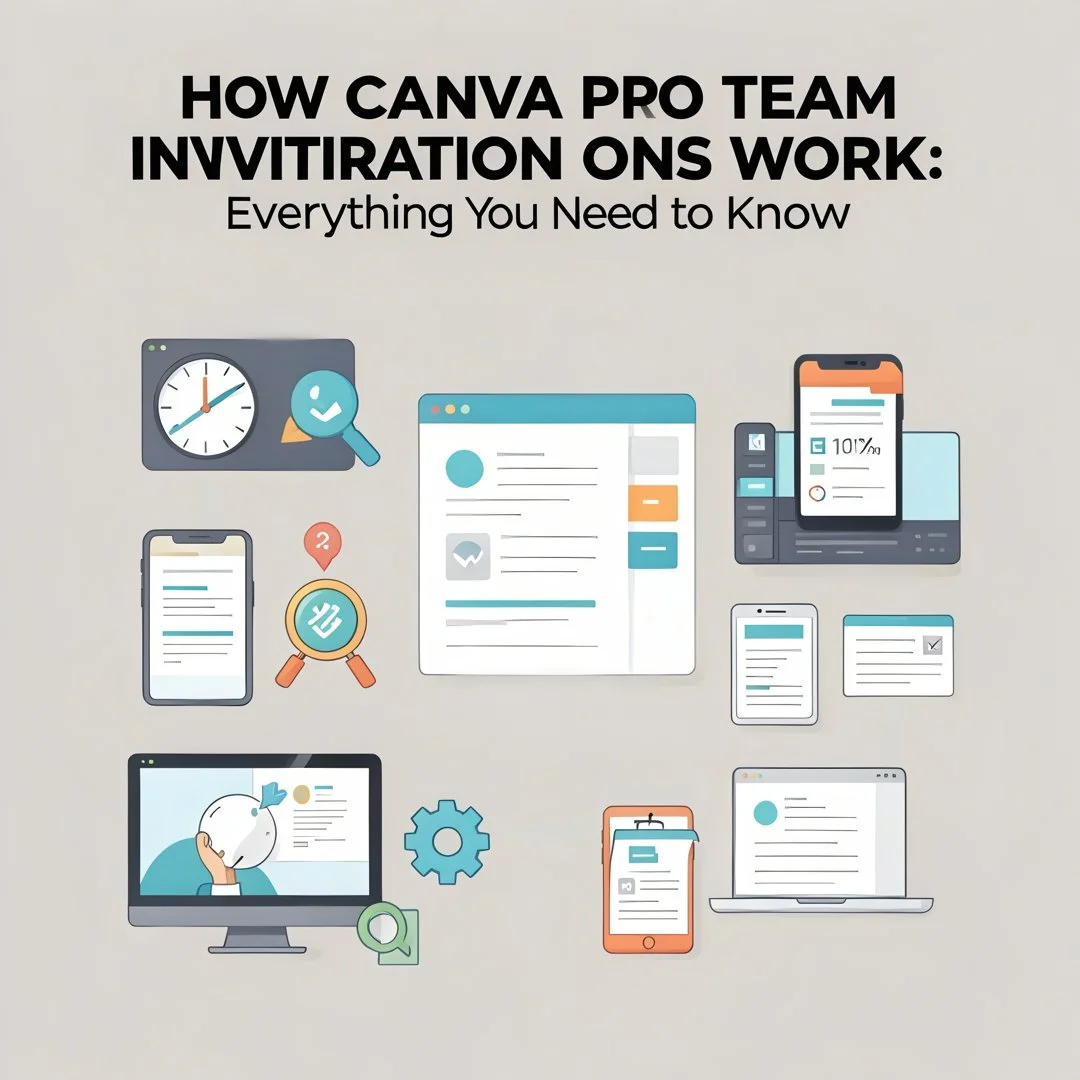
Step 4: Gather necessary resources
Collect the information you will need: the email addresses of the people you are inviting, the folder structure you plan to share, and any brand assets or templates that should be ready for use. If your organization has policies about who can join a workspace, confirm you have approval. Prepare a short welcome note so new members understand expectations immediately.
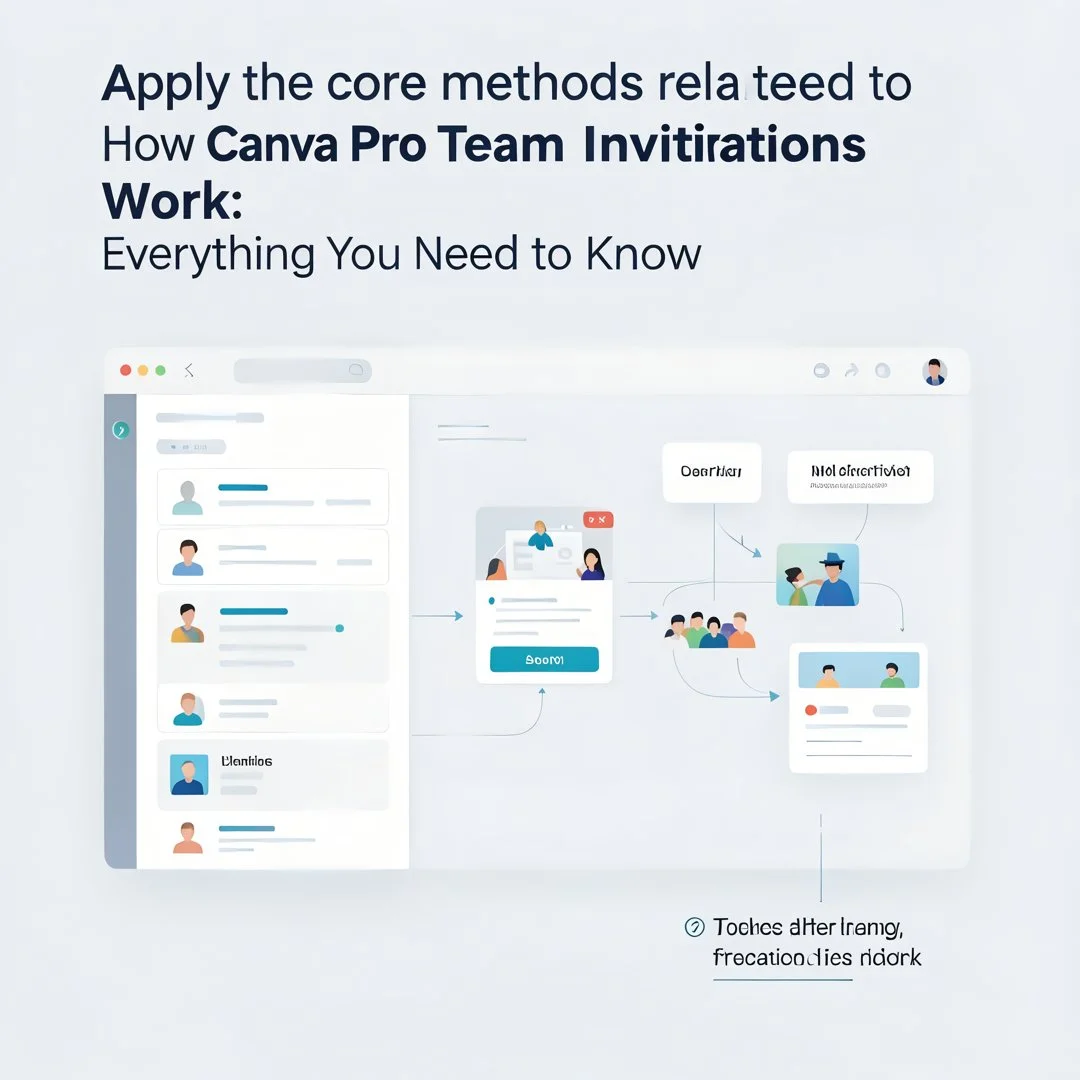
Step 5: Apply the core methods
Send invitations through the team management area, choosing email invitations for accountability or link invitations where distribution is controlled. Assign the appropriate role as you invite each person, and reference the shared folders and onboarding note. Ask invitees to accept promptly so seats are not held in limbo. Record who was invited, when, and with which role.

Step 6: Monitor your progress
Check the member list to confirm invitations were accepted and roles are correct. Follow up with anyone who has not accepted within a few days. Set a recurring reminder to review team access, and watch for seat usage approaching your plan limit. Ongoing monitoring keeps your team accurate and your billing predictable.
FAQ
What should I know about How Canva Pro Team Invitations Work: Everything You Need to Know?
The most important things to know are that each accepted invitation consumes a seat tied to billing, roles determine who can manage the team and billing, and invitations can be sent by email or shareable link. Email invitations offer better accountability, links require careful handling because they can be forwarded, and removing a member frees a seat rather than generating an automatic refund. Understanding these four points covers most practical concerns.
Who is this guide for?
This guide is for anyone who owns or manages a Canva Pro, Canva for Teams, or Enterprise subscription, as well as the people being invited. That includes small business owners, freelancers adding collaborators, marketing teams, non-profit staff, and IT or operations administrators who oversee design tooling. Readers who simply use Canva alone without a team can also benefit from understanding how invitations, seats, and roles work before expanding.
Can I undo an invitation after sending it?
Yes. Admins can revoke pending invitations from the team management area before the recipient accepts. Once accepted, the person becomes a member and must be removed through member management instead, which frees their seat for future use.
Do invited members see my personal designs?
Generally no. Your personal projects remain separate from the team space. Members see team.
You now have a solid foundation for How Canva Pro Team Invitations Work: Everything You Need to Know. Apply the best practices above and revisit this guide as your needs evolve.